A DIY paver concrete patio installation is a transformative project that blends creativity, functionality, and value into your outdoor space. In 2025, homeowners are increasingly embracing concrete patio installation to create personalized entertainment areas, fire pit zones, or serene garden retreats. With advancements in materials like permeable pavers and eco-friendly stamped concrete, DIYers can achieve professional results while saving 30–50% on labor costs. According to HomeAdvisor, patio projects yield a 70% ROI at resale, making them one of the most cost-effective home upgrades. This guide dives deep into every stage of planning, building, and maintaining a paver patios and concrete patios, ensuring you avoid common pitfalls and maximize durability. Let’s explore how to turn your backyard into a stunning oasis.
1. Why Choose a Paver or Concrete Patios?

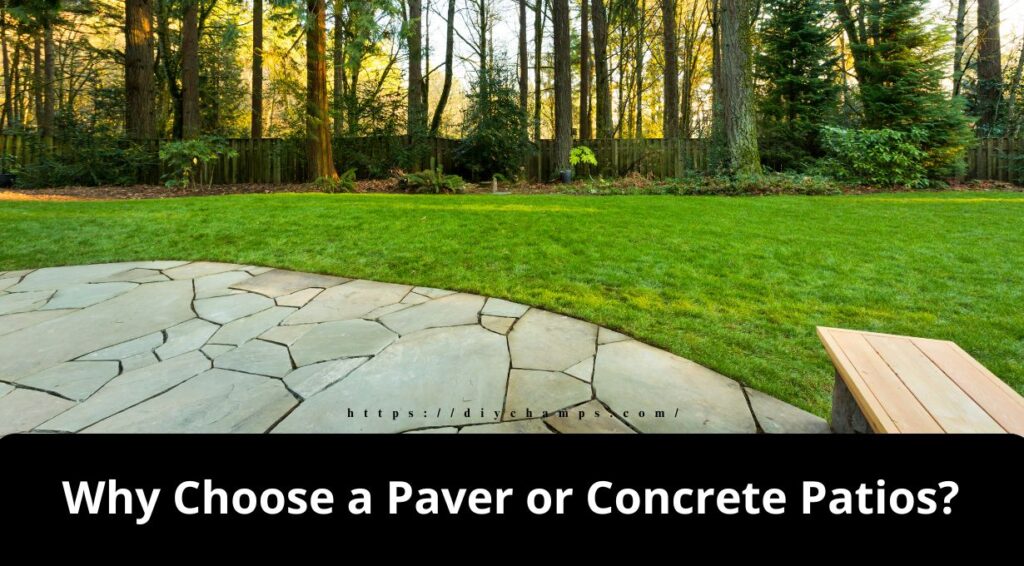
Choosing between concrete and pavers hinges on your priorities: durability, aesthetics, budget, or flexibility. Concrete patios are monolithic slabs poured on-site, ideal for seamless designs like stamped patterns that mimic natural stone or wood. Paver patios, on the other hand, use interlocking units (concrete, clay, or natural stone) laid over a gravel and sand base. They offer unmatched flexibility – individual pavers can be replaced if damaged-and drainage through gaps filled with polymeric sand.
Case Study: A 2024 Fixer survey revealed that 68% of homeowners prioritize concrete and paver patios for outdoor entertaining, with 72% opting for pavers due to their repair flexibility and aesthetic versatility.
Important Points
- Climate Adaptability:
- In colder regions, concrete requires rebar reinforcement and expansion joints to withstand freezing temperatures. Pavers, with their flexible base, handle ground movement better.
- In hot climates, light-colored pavers or stamped concrete with reflective finishes reduce heat absorption, keeping surfaces cooler.
- Eco-Friendly Options:
- Permeable pavers allow rainwater to seep into the ground, reducing runoff and complying with 2025 storm water regulations.
- Recycled concrete aggregates or fly ash-based mixes minimize environmental impact for eco-conscious builds.
2. Planning Your DIY Paver Concrete Patio Installation

Thorough planning prevents costly mistakes and ensures your concrete patio installation aligns with local codes and personal needs. Start by sketching your design, factoring in size, shape, and purpose. A dining area may need 12’x16’ for a table and chairs, while a fire pit circle might require 10’x10’. Use stakes and string to outline the area, then verify the slope (1–2% away from your home) with a 4-ft. level. Check local permitting requirements—projects over 100 sq. ft. often need approval, with fees ranging from 50–50–300. Budget for materials, tools, and a 10% contingency for unexpected costs like soil removal or extra gravel.
Pro Tip: Apps like iScape let you upload yard photos and overlay patio designs to visualize layouts, furniture placement, and lighting.
Important Points
- Material Selection:
- Concrete: Opt for air-entrained mixes in freeze-prone areas to prevent cracking. Stamped concrete adds texture but costs 12–12–20 per sq. ft.
- Pavers: Concrete pavers are affordable (10–10–18 per sq. ft.) and come in shapes like cobblestone or brick. Natural stone (e.g., travertine) offers luxury but costs 20–20–30 per sq. ft.
- Tool Rentals:
- A plate compactor (75/day)ensures a stable base, (50/day) speeds up large pours.
- For intricate cuts, rent a wet saw ($40/day) to slice pavers cleanly.
3. Gathering Materials and Tools

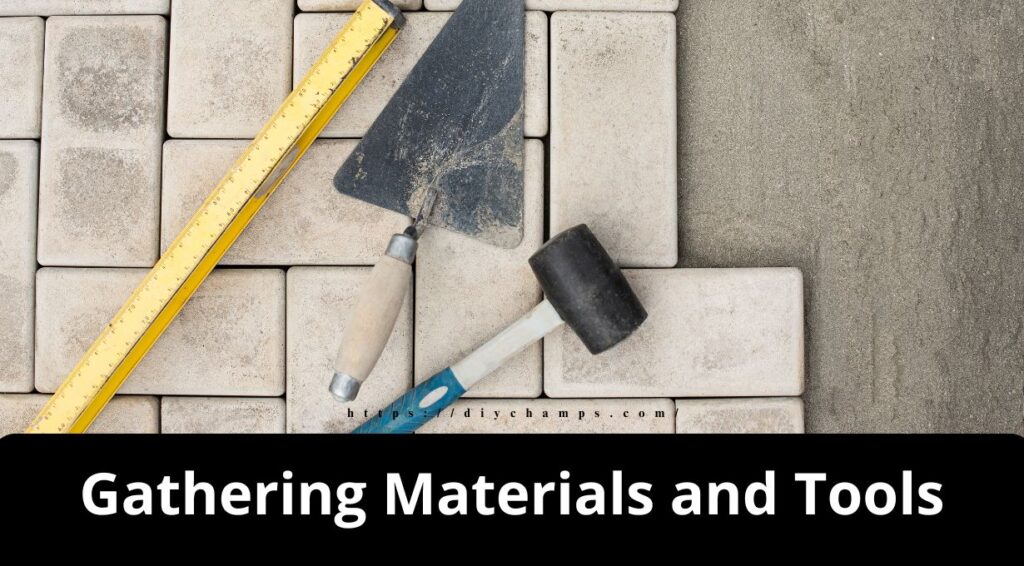
Quality materials and tools are non-negotiable for a long-lasting patio. For concrete patios, calculate the concrete volume using the formula: Length (ft) x Width (ft) x Depth (ft) ÷ 27 = Cubic yards. A 10’x12’x0.33’ (4”) slab requires 1.5 cubic yards. Order 10% extra to account for spillage. Use 3,000–4,000 PSI concrete for durability, and add fiber mesh or rebar (6” grid spacing) to reinforce slabs. For paver patios, base materials are critical: 3–4” of crushed gravel (¾” minus) compacted in layers and 1” of coarse sand for leveling. Edge restraints (plastic or metal) prevent shifting, while polymeric sand locks joints.
Expert Insight: Mike Holmes, HGTV contractor, stresses, “A sturdy base is 80% of your patio’s success. Never skimp on gravel compaction.”
Important Points
- Concrete Additives:
- Accelerators: Reduce curing time in cold weather.
- Water Reducers: Improve workability without weakening the mix.
- Paver Accessories:
- Geotextile Fabric: Lay between gravel and sand to prevent weed growth.
- Edge Restraints: Secure with galvanized spikes every 12” for stability.
4. Preparing the Site

Site prep is the foundation of your patio’s longevity. Start by excavating the area to the required depth: 6–8” for concrete (4” slab + 2–4” gravel base) or 9–12” for pavers (6” gravel + 1” sand + paver thickness). Remove grass, roots, and debris, then compact the soil with a plate compactor. Add crushed gravel in 2” layers, compacting each to 95% density-test by walking on it; if it shifts, re-compact. For pavers, screed sand with a 2×4 board to create a perfectly level bed, it will help in DIY paver concrete patio installation.
Stat: A 2023 Concrete Network study found that 80% of paver failures stem from poor base compaction.
Important Points
- Drainage Solutions:
- Install a French drain along the patio’s edge if the yard slopes toward the house.
- For concrete, embed PVC pipes under the slab for future utilities (e.g., lighting, gas lines).
- Laser Leveling:
- Rent a laser level ($30/day) for precision grading, ensuring the slope directs water away from structures.
5. Installing the Concrete Patios

Pouring Concrete:
- Build forms with 2×4 lumber, securing them with stakes every 3–4 ft. Check for squareness using the 3-4-5 triangle method.
- Pour concrete in sections, starting from the farthest corner. Use a shovel to spread it, then screed with a 2×4 board in a sawing motion.
- Float the surface with a magnesium trowel to push aggregate down and smooth imperfections. After 20–30 minutes, edge the perimeter and add broom texture for slip resistance.
- Insert control joints every 6–8 ft. using a grooving tool to guide future cracking.
Laying Pavers:
- Begin at a corner, placing pavers in your chosen pattern (e.g., herringbone at 45°). Use string lines to keep rows straight.
- Cut pavers with a wet saw for curves or odd angles. Wear safety goggles to protect from debris.
- Sweep polymeric sand into joints, then mist with water to activate the binding agent. Compact the entire surface with a plate compactor (use a rubber mat to protect pavers).
Case Study: A DIYer in Colorado saved $4,200 by installing a 300 sq. ft. stamped concrete patios with a wood-plank pattern, using online tutorials and rented stamps.
Important Points
- Stamped Concrete Tips:
- Apply release agent to stamps to prevent sticking. Test the stamp on a small section first.
- Use color hardeners (15–15–20 per bag) for vibrant, long-lasting hues.
- Paver Alignment:
- Check level every 3–4 pavers. Adjust sand base as needed to eliminate wobbling.
6. Curing and Sealing

Concrete Curing:
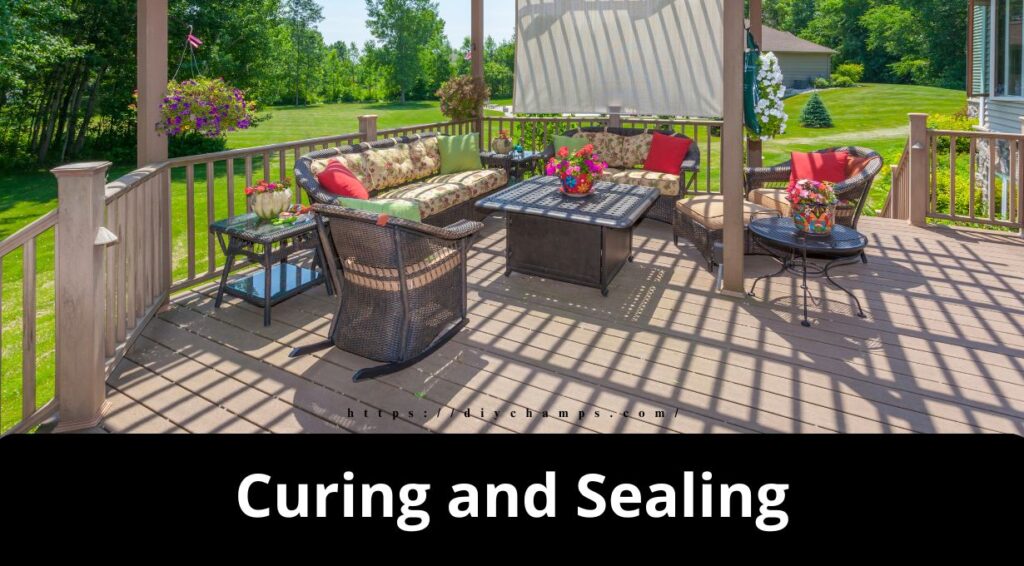
Proper curing ensures maximum strength for paver and concrete patios. Keep the slab moist for 7 days by covering it with wet burlap or spraying a curing compound. Avoid foot traffic for 3–5 days and vehicle weight for 28 days. In cold weather, use insulating blankets to maintain warmth.
Paver Sealing:
Apply a penetrating sealer within 48 hours to protect against stains and UV fading. Use a pump sprayer for even coverage, and avoid puddling. Reapply every 2–3 years, or after pressure washing.
Pro Tip: For a glossy finish, use acrylic sealers on stamped concrete. For natural looks, choose matte sealers.
Important Points
- Temperature Sensitivity:
- Pour concrete when temperatures are between 50–90°F. In hot weather, mist the slab to prevent rapid drying.
- Avoid sealing pavers in direct sunlight; early morning or evening applications prevent quick evaporation.
7. Maintenance and Upgrades

Concrete Maintenance:
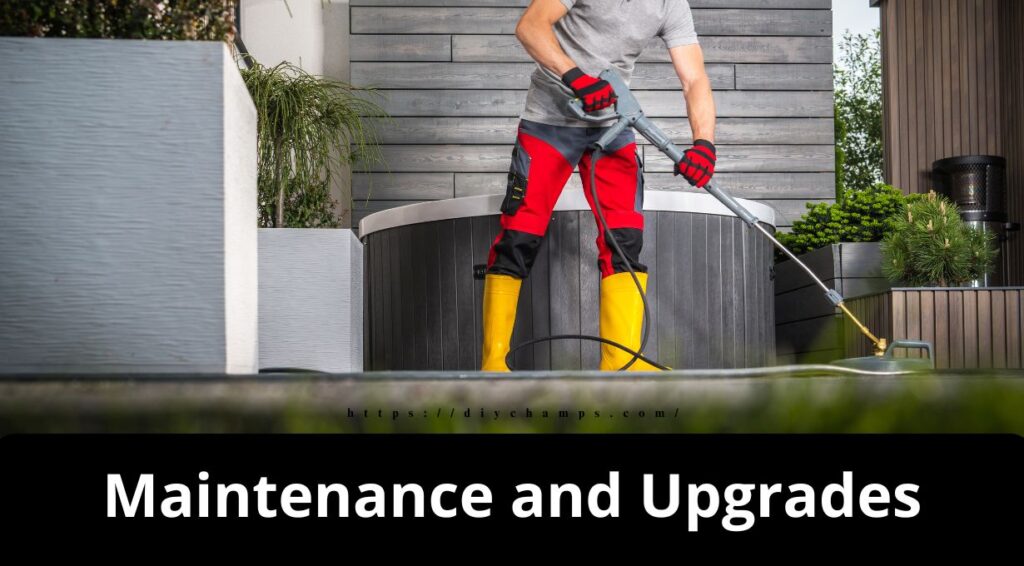
- Pressure wash annually with a 3,000 PSI washer to remove dirt and mildew.
- Repair hairline cracks with epoxy filler, and reseal every 3–5 years using a siloxane-based sealer.
Paver Maintenance:
- Replenish polymeric sand every 2–3 years to prevent weed growth and ant infestations.
- Replace cracked pavers by lifting surrounding units with a pry bar, then resetting them in fresh sand.
2025 Trends:
- Radiant Heating: Install electric or hydronic heating under pavers for snow-free winters.
- Smart Lighting: Low-voltage LED strips embedded in paver joints create ambiance and improve safety.
Important Points
- Eco-Upgrades:
- Solar-powered pavers with built-in LEDs reduce energy costs.
- Rain gardens adjacent to permeable patios manage storm water naturally.
8. Troubleshooting Common Issues in DIY Paver Concrete Patio Installation

Even with meticulous planning, challenges can arise during a DIY paver concrete patio installation. Understanding how to address these issues ensures your project stays on track and delivers lasting results.
Cracking in Concrete Patios:
- Cause: Cracks often result from rapid drying, poor base compaction, or lack of control joints.
- Solution: For hairline cracks, apply a concrete crack filler or epoxy resin. For larger fissures, consult a professional to assess structural integrity. Prevent future cracks by ensuring proper curing and installing control joints every 6–8 ft.
Settling or Uneven Pavers:
- Cause: Inadequate base compaction or erosion beneath the sand layer.
- Solution: Lift affected pavers, add or recompact the sand/gravel base, and relevel. Use polymeric sand to stabilize surrounding joints.
Weed Growth in Paver Joints:
- Cause: Organic debris trapped in joints or degraded polymeric sand.
- Solution: Remove weeds manually or with a vinegar solution, then reapply polymeric sand and sealant. For long-term prevention, install a geotextile fabric beneath the gravel base.
Staining on Concrete or Pavers:
- Cause: Oil spills, rust, or organic matter (e.g., leaves, berries).
- Solution:
- Concrete: Use a pressure washer with a degreaser attachment. For oil stains, apply a poultice of baking soda and water.
- Pavers: Scrub with a mix of dish soap and warm water. Avoid bleach, which can fade colors.
Case Study: A homeowner in Florida resolved recurring paver shifting by installing deeper edge restraints and adding a 4” gravel base, eliminating the need for annual adjustments.
9. 2025 Design Trends for Concrete and Paver Patios

Stay ahead of the curve with these innovative trends in concrete patio installation and paver designs:
Integrated Smart Technology:
- Heated Patios: Install electric or hydronic heating systems beneath pavers or concrete for year-round comfort. These systems cost 12–12–20 per sq. ft. but add significant resale value.
- Lighting Innovations: Solar-powered LED pavers or recessed lights create ambiance and improve safety. Opt for warm tones (2700K–3000K) for a cozy feel.
Eco-Conscious Materials:
- Permeable Pavers: Ideal for complying with 2025 stormwater regulations, these allow 80–100% water infiltration. Pair with rain gardens to manage runoff naturally.
- Recycled Concrete Aggregates: Crushed concrete from demolition sites can replace gravel in bases, reducing landfill waste.
Bold Aesthetics:
- Geometric Patterns: Hexagonal pavers or stamped concrete with angular designs add modern flair.
- Mixed Materials: Combine concrete slabs with paver borders or natural stone accents for contrast.
Pro Tip: Use color-stained concrete (8–8–12 per sq. ft.) to mimic high-end materials like slate or terrazzo without the cost.
10. Seasonal Maintenance Guide for Longevity

A well-maintained patio can last decades. Follow this seasonal checklist to preserve your DIY paver concrete patio installation:
Spring:
- Inspect for Damage: Check concrete for cracks and pavers for shifting. Address issues before heavy use.
- Clean Surfaces: Pressure wash to remove winter debris and mildew. For pavers, re-sand joints if needed.
Summer:
- Reseal Surfaces: Apply sealant to concrete or pavers during dry, mild weather. Avoid sealing in direct sunlight.
- Manage Vegetation: Trim nearby plants to prevent roots from disturbing the base.
Fall:
- Leaf Removal: Clear fallen leaves promptly to prevent staining and slippery surfaces.
- Drainage Check: Ensure downspouts direct water away from the patio to avoid erosion.
Winter:
- De-Icing: Use calcium chloride instead of rock salt, which can damage concrete and pavers.
- Snow Removal: Use a plastic shovel to avoid scratching surfaces.
Expert Insight: Bob Vila recommends resealing concrete every 3–5 years and pavers every 2–3 years to maintain weather resistance.
11. When to Hire a Professional

While a DIY paver concrete patio installation saves money, some tasks require professional expertise:
Complex Designs:
- Stamped Concrete: Intricate patterns or multi-colored stains demand skilled application.
- Curved Paver Layouts: Tight radii or custom cuts may need specialized tools like hydraulic splitters.
Structural Challenges:
- Retaining Walls: Patios built on slopes often require engineered walls to prevent soil erosion.
- Soil Stabilization: Expansive clay or sandy soils may need geogrid reinforcement, which professionals assess via soil tests.
Permitting and Codes:
- Zoning Laws: Contractors navigate complex regulations, especially for properties near wetlands or historic districts.
- Utility Lines: Professionals use ground-penetrating radar to avoid hitting gas, water, or electrical lines during excavation.
Cost-Benefit Analysis:
- Labor Costs: Hiring a pro adds 8–8–15 per sq. ft. but ensures warranties and code compliance.
- Time Savings: A crew can complete a 300 sq. ft. patio in 3–5 days vs. 2–3 weeks for DIY.
12. Cost-Saving Tips for 2025

Maximize your budget without compromising quality:
Material Hacks:
- Bulk Purchases: Order gravel, sand, and concrete in bulk for 10–20% discounts.
- Reclaimed Pavers: Check local marketplaces for leftover materials from construction sites.
Tool Sharing:
- Community Rentals: Split equipment costs with neighbors via platforms like ToolLender.
- Library of Things: Some cities lend tools for free with a library card.
Design Simplicity:
- Minimize Cuts: Choose paver sizes that fit your layout to reduce waste.
- Standard Slabs: Opt for plain concrete over stamped designs to save 4–4–8 per sq. ft.
Case Study: A couple in Oregon saved $1,200 by sourcing reclaimed brick pavers and renting tools through a community co-op.
Conclusion
A DIY paver concrete patio installation is a testament to your craftsmanship and vision. By mastering each phase-from meticulous planning and precise base preparation to innovative design and proactive maintenance-you’ll create an outdoor sanctuary that enhances your home’s value and lifestyle. As 2025 brings new materials and technologies, your paver and concrete patios can evolve with trends like smart lighting or permeable designs. Remember, every shovel of gravel and perfectly laid paver brings you closer to a backyard paradise.
FAQs
1. Can I add a fire pit to my concrete patios?
Yes! Use heat-resistant materials like fire-rated concrete or pavers. Maintain a 10–15 ft. clearance from structures and install a non-combustible base beneath the pit.
2. Can I pour concrete over an existing patio?
Yes, but ensure the old surface is clean, stable, and free of cracks. Use a bonding adhesive and pour a minimum 2” layer of new concrete.
3. How do I prevent efflorescence on concrete pavers?
Efflorescence (white mineral deposits) can be minimized by using polymeric sand and sealing pavers. Clean existing stains with a mix of water and vinegar.
4. What’s the best way to level uneven pavers?
Lift the uneven pavers, add or remove sand beneath, then tamp back into place. Use a rubber mallet to avoid chipping.
5. Can I install a patio without a gravel base?
No. Skipping the gravel base leads to shifting and sinking. Even for small patios, 3–4” of compacted gravel is essential.
6. How do I hide cracks in a concrete patios?
Use concrete stain or epoxy coatings to camouflage minor cracks. For larger gaps, consult a professional for mud jacking or resurfacing.
Check This More Outdoor Project

Outstanding post, I think website owners should learn a lot from this web blog its rattling user pleasant.
Thank You